Christmas mode is in full swing at my house. Pandora has been on the Mariah Carey Christmas station, peppermint lattes have been consumed, and twinkle lights have made their way down from the attic. Tis’ the season, and I’m excited to show you what I’ve been working on lately.
My “Merry and Bright Mantel” was inspired by my current obsession with metallics. A couple ideas from Pinterest got me thinking about a simple, modern way to decorate this year. The idea for silver and gold “snow” on canvases came from this pin, and the thought of using lights poked through a canvas came from here.
I probably should have used a stencil for the “Merry and Bright” lettering, but I got impatient and just drew with pencil before using metallic paint pens to trace over it. (If you look closely, you’ll see some things are a bit off. Oh well, adds to the homemade charm right? At least that’s what I’m telling myself.) The find of the season was these amazing ornaments I scored for $3 each at Wal Mart, of all places. I snatched up every last one. The snowflakes below were also a WM find, $2 a piece. I need to remember to start my hunt at good ole’ Wal Mart then pick up the fancy, more costly stuff at craft stores later. I spent less than $100 on everything for my mantel this year. Which means, more money to buy stocking stuffers. The little wooden village above is one of my most precious possessions. My mother bought the set on a family vacation to Germany when my brother and I were very little. For as long as I can remember, mine and my brother’s part in helping to “decorate for Christmas” was to set up the village. We took great care to arrange and rearrange everything until we felt confident it was the “best Christmas village ever”.
 The find of the season was these amazing ornaments I scored for $3 each at Wal Mart, of all places. I snatched up every last one. The snowflakes below were also a WM find, $2 a piece. I need to remember to start my hunt at good ole’ Wal Mart then pick up the fancy, more costly stuff at craft stores later. I spent less than $100 on everything for my mantel this year. Which means, more money to buy stocking stuffers.
 The little wooden village above is one of my most precious possessions. My mother bought the set on a family vacation to Germany when my brother and I were very little. For as long as I can remember, mine and my brother’s part in helping to “decorate for Christmas” was to set up the village. We took great care to arrange and rearrange everything until we felt confident it was the “best Christmas village ever”.
 This was my first year to set the village up at my house. The feeling of nostalgia was almost tangible as I set up each little house and tree. It was the highlight of my decorating process. Each familiar piece brought back a flood of memories and made me miss my brother terribly. (By the way, isn’t the Volkswagen genius?!?)
Next week, I’ll be posting gift wrap ideas, a DIY stocking stuffer, and my trees. Yes, that’s plural. No worries, I only have two. How’s your decorating going? What is one of your holiday traditions that bring back memories of Christmases past?


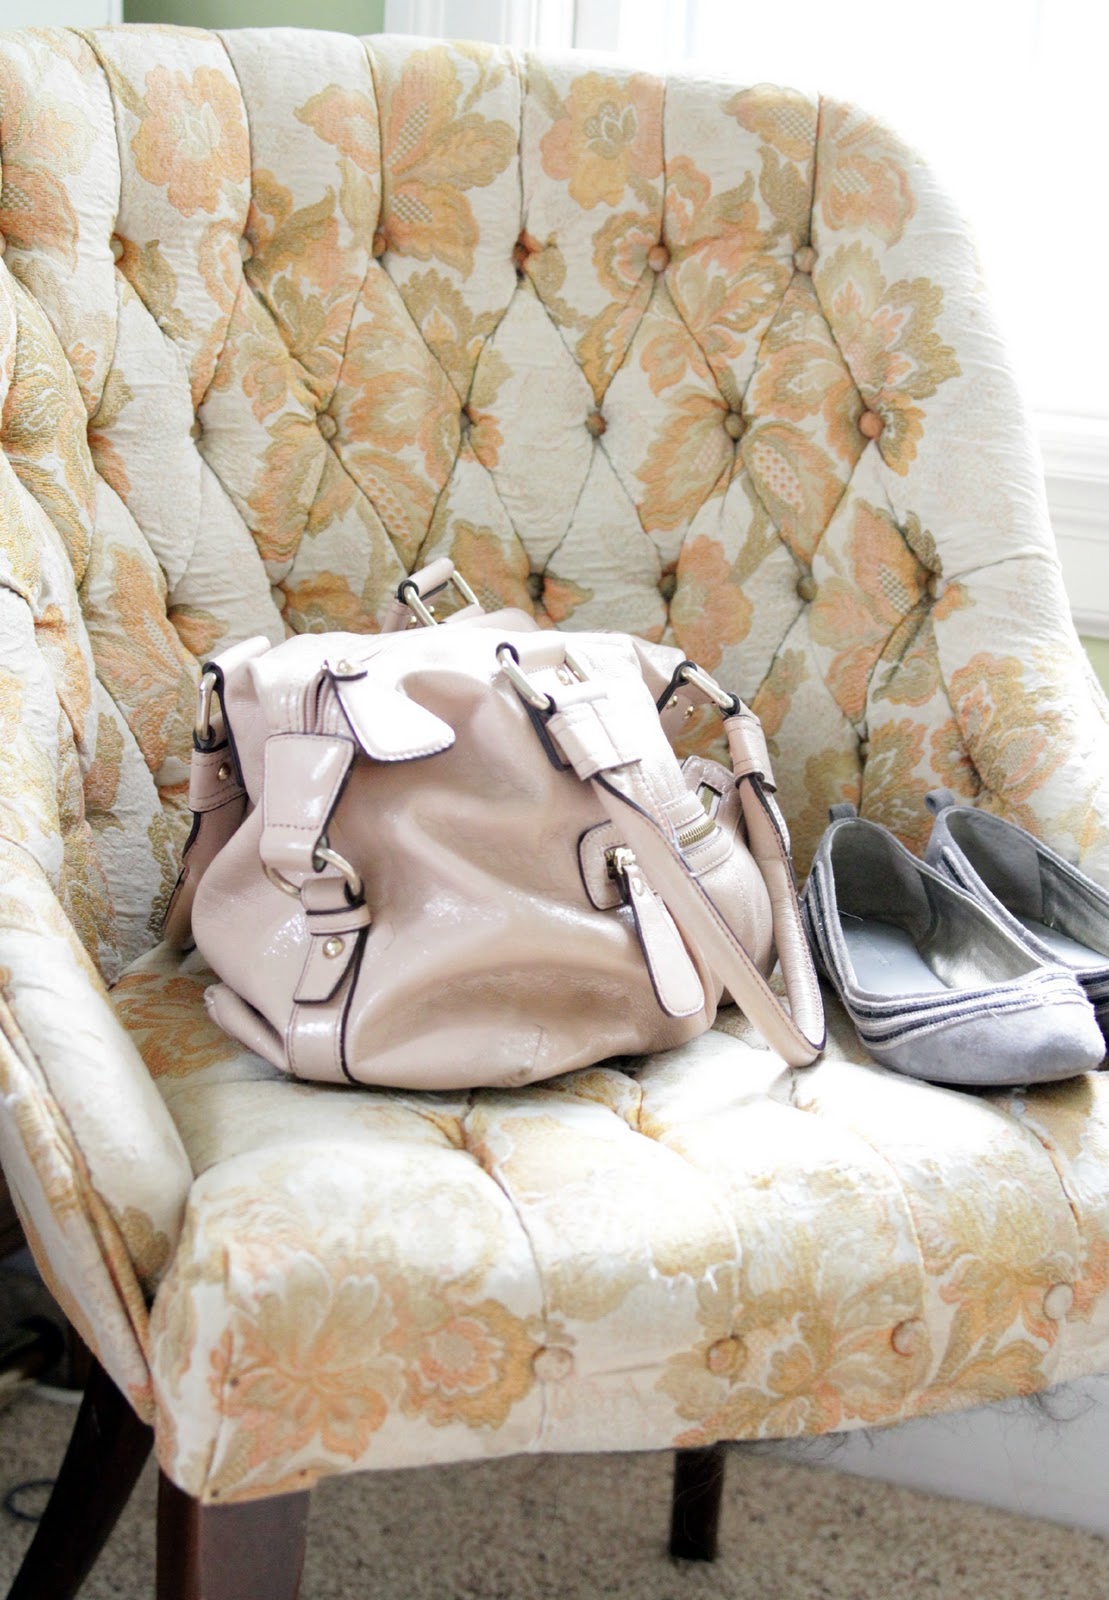
 This weekend my cousin came to visit, and one of our first priorities was to hit up some of my town’s amazing flea markets. She scored a gorgeous white headboard for $30 (wish I had taken pictures), and I found these vintage pink wire baskets. I walked by them at first thinking, “Those are cute, but what would I do with them?” About 2 seconds after I imagined using them for storage in my dressing room, she announced, “You could hang them on a wall and use them like shelves!” Yes, we are kin. So, I happily forked over $18 and had instant shelving for my collection of clutches, hats, and scarves.
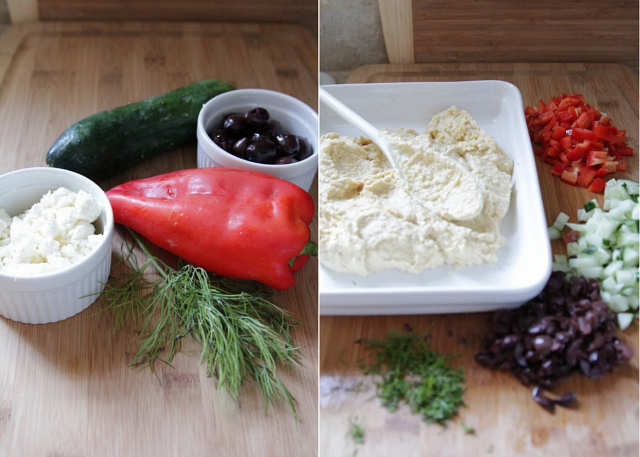
 We eat a lot of hummus in our house. It’s a great, healthy dip, but sometimes it needs to be dressed up for a night out on the town. (AKA: I need something to take to a party and usually have these ingredients at home already.) I’m a


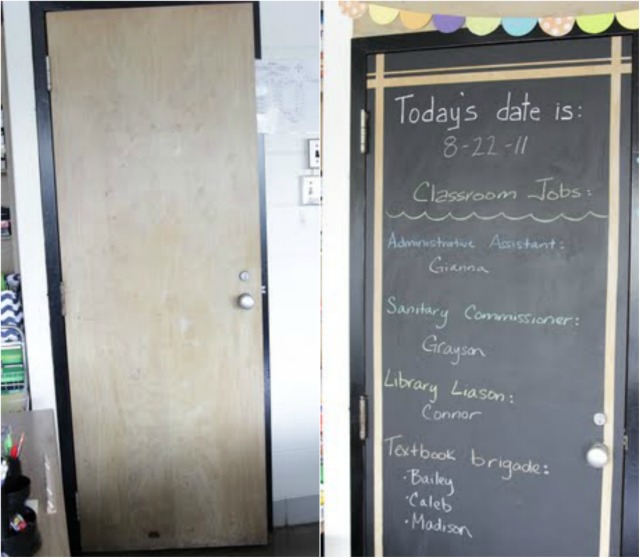
 BUT, my favorite part of a new year is getting my classroom ready for a set of fresh faces. I have a disability when it comes to teaching…If my classroom doesn’t look good, I can’t function. I picked out several fabrics as my inspiration, and built the the room’s look around those colors.
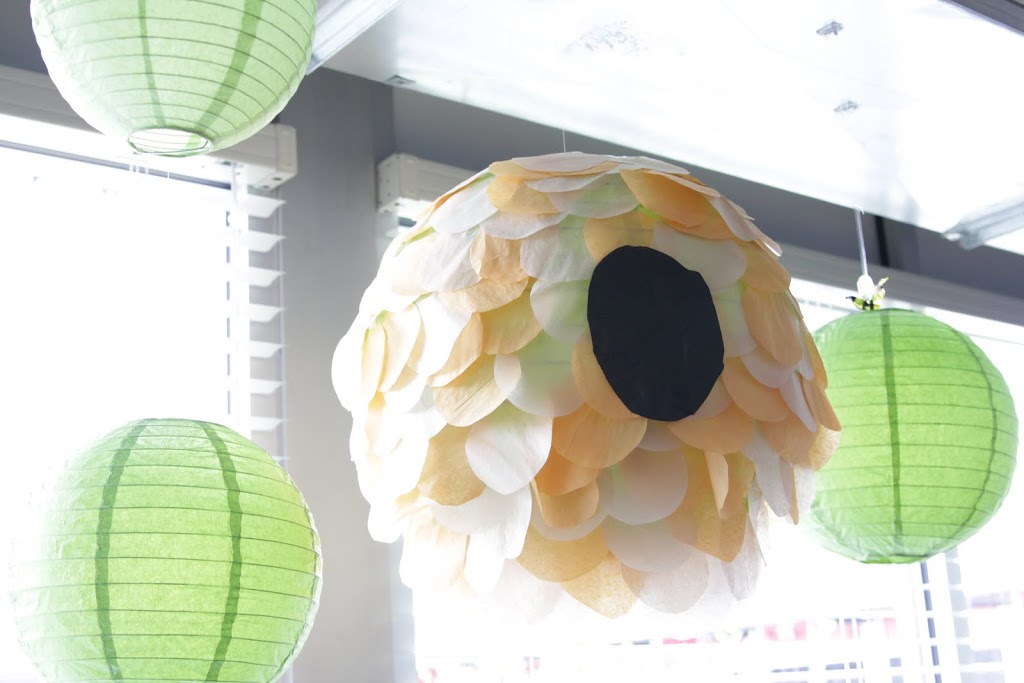
 Remember the
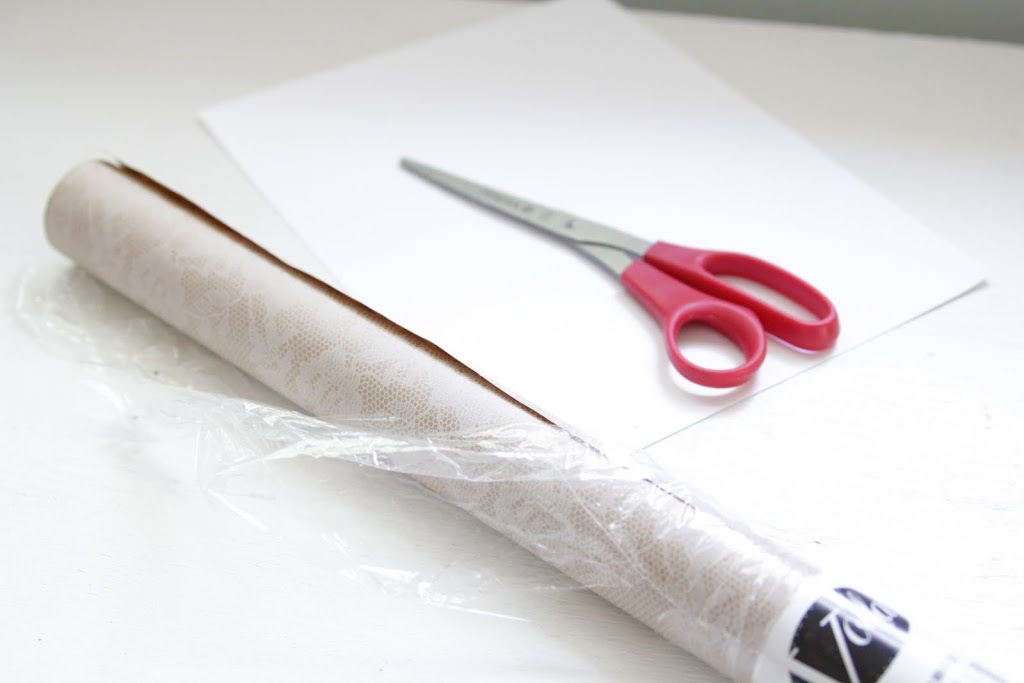
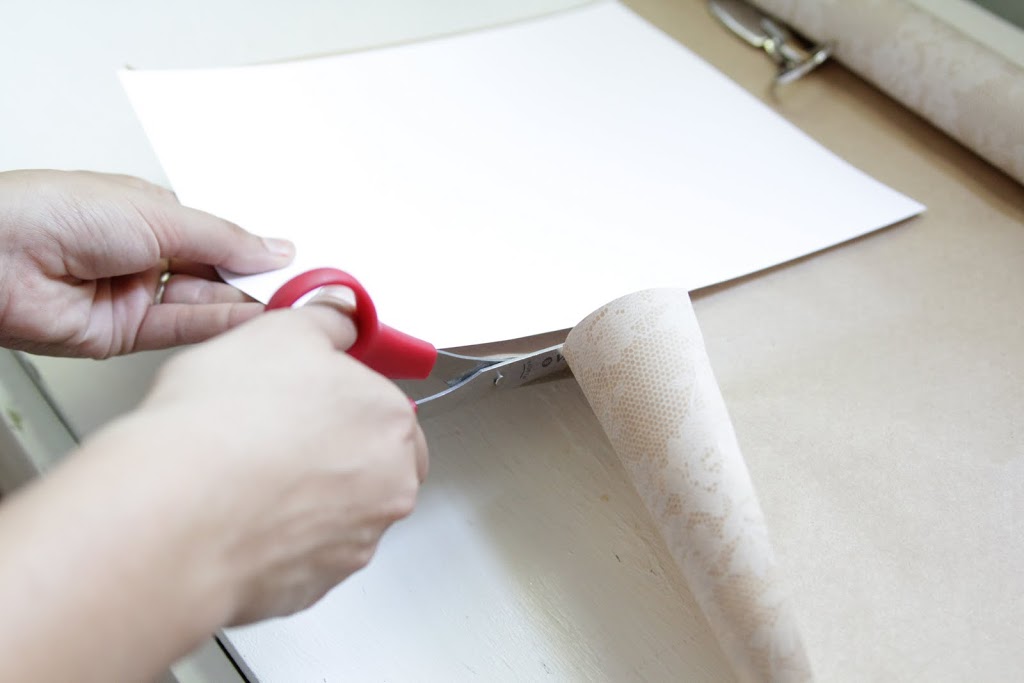
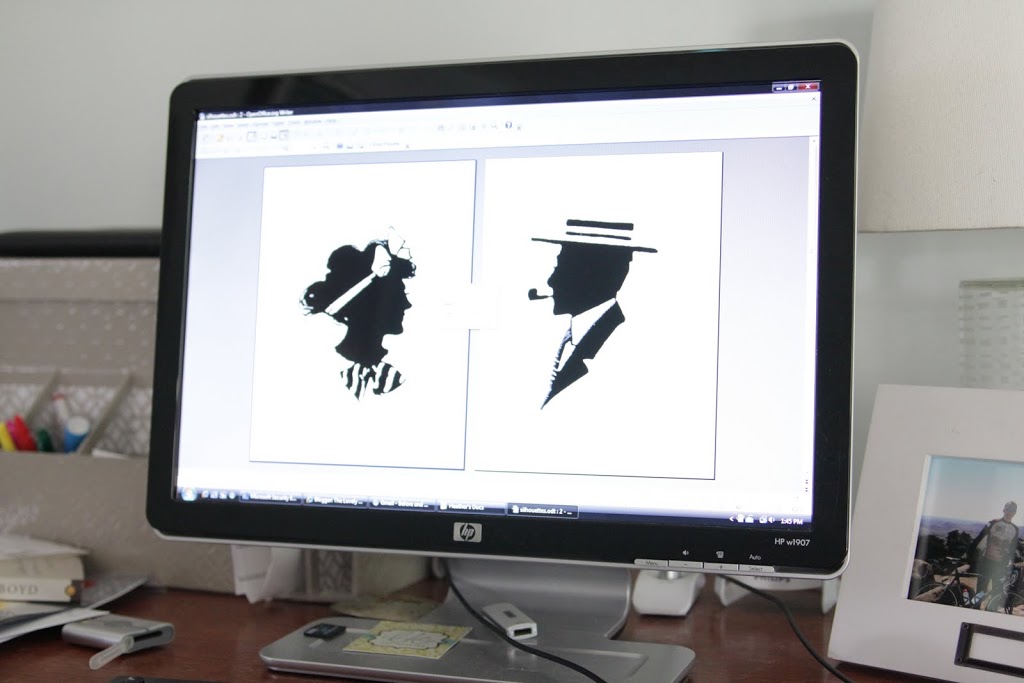
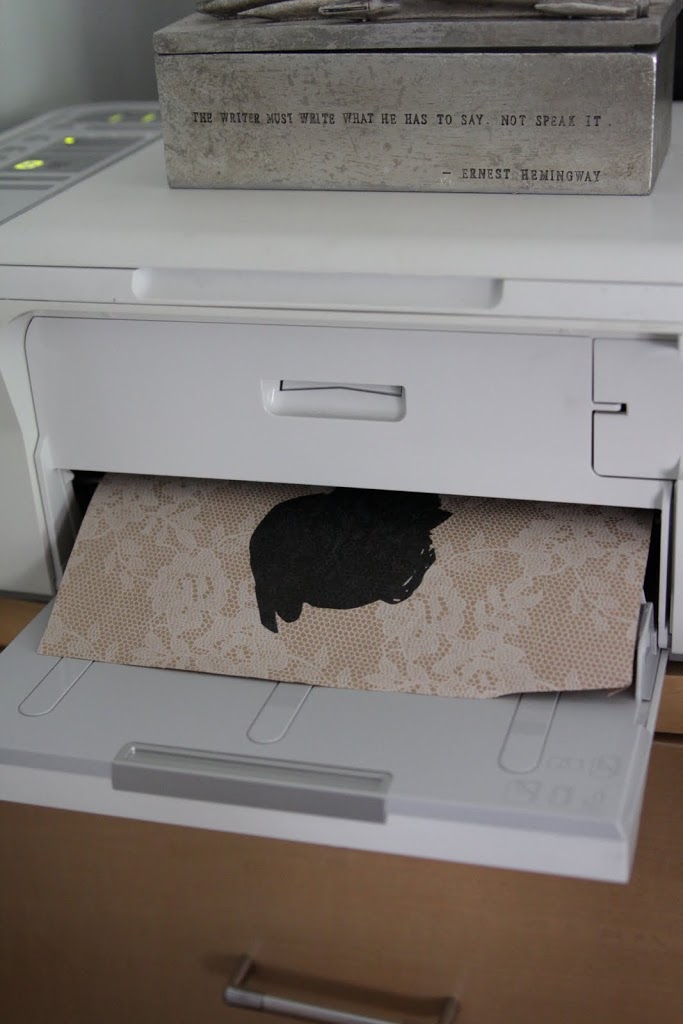
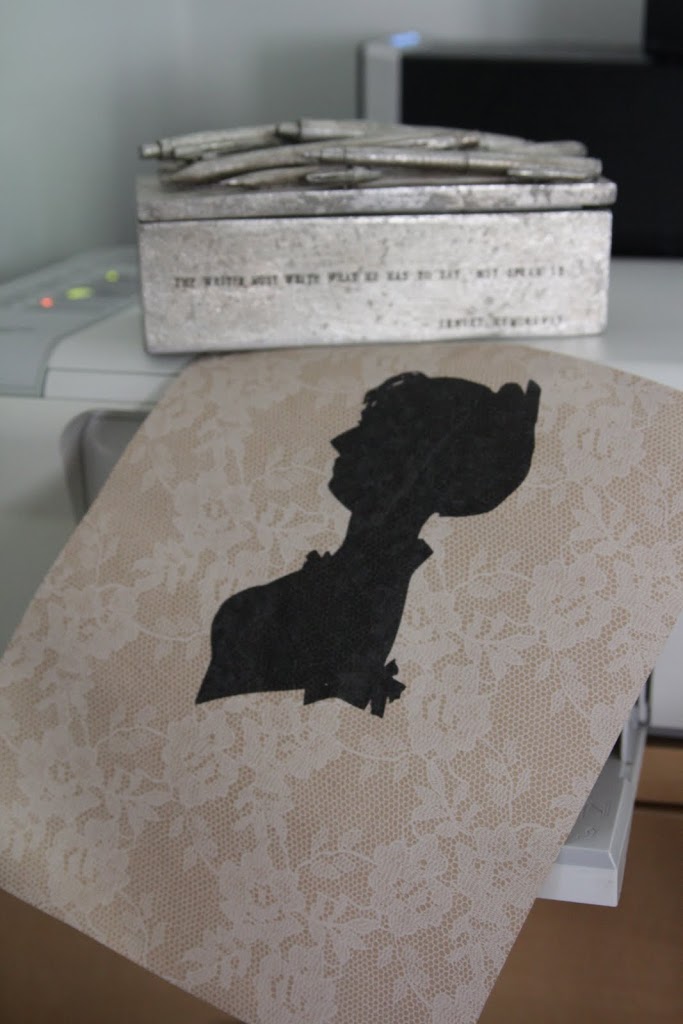
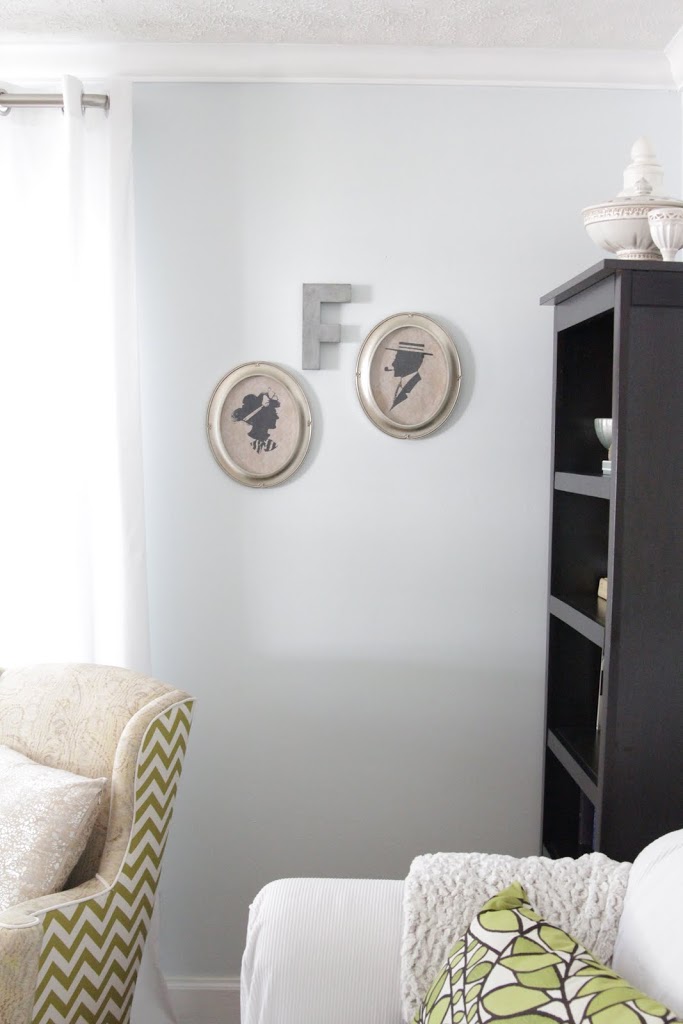
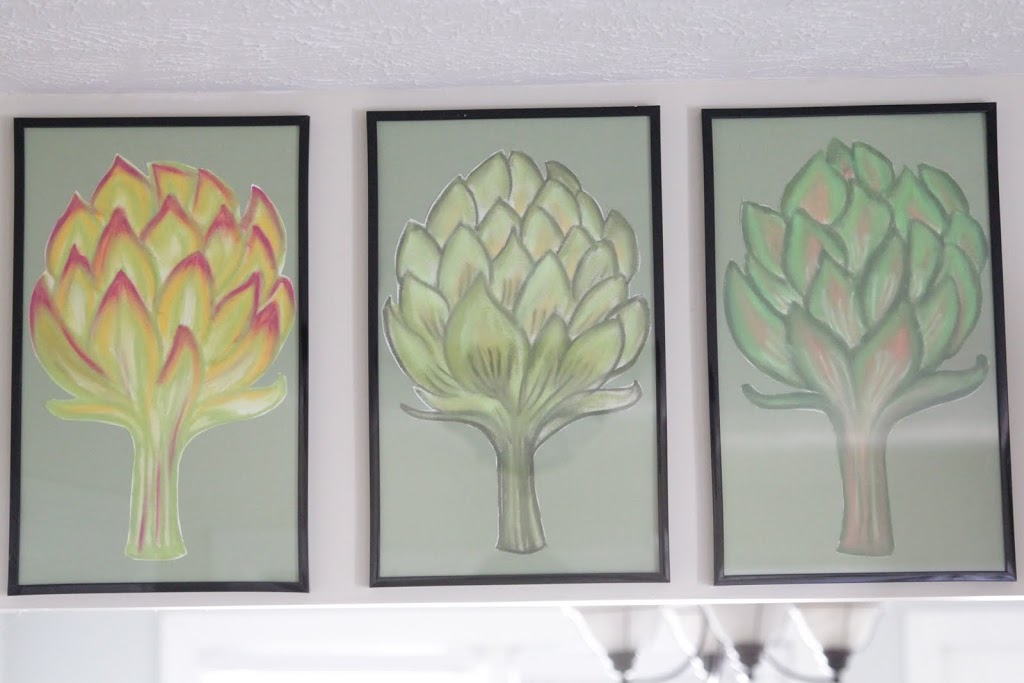
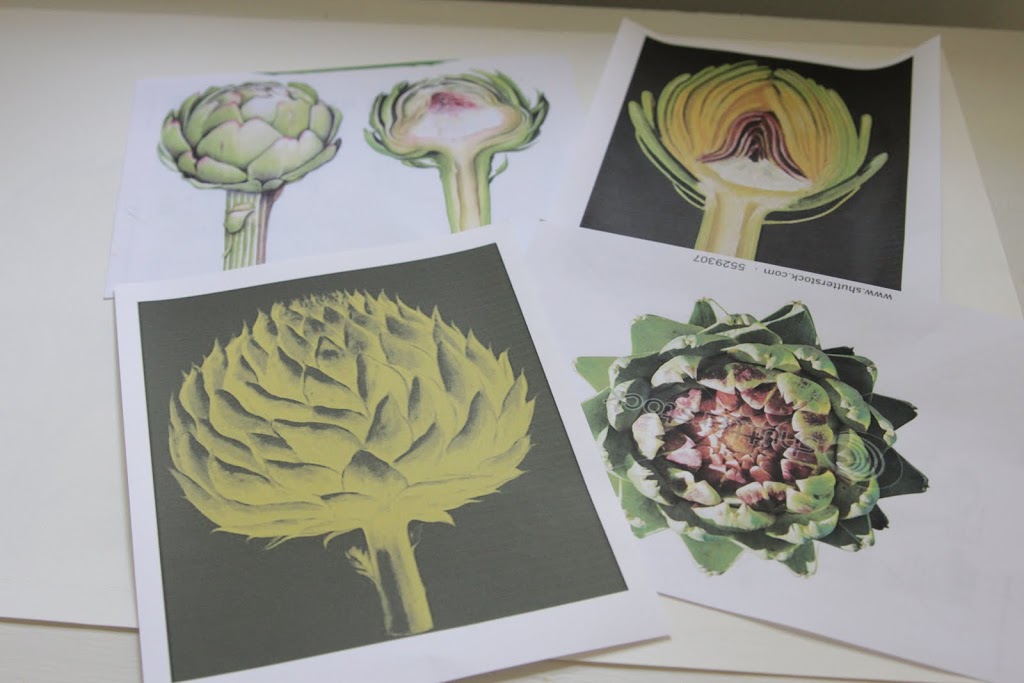
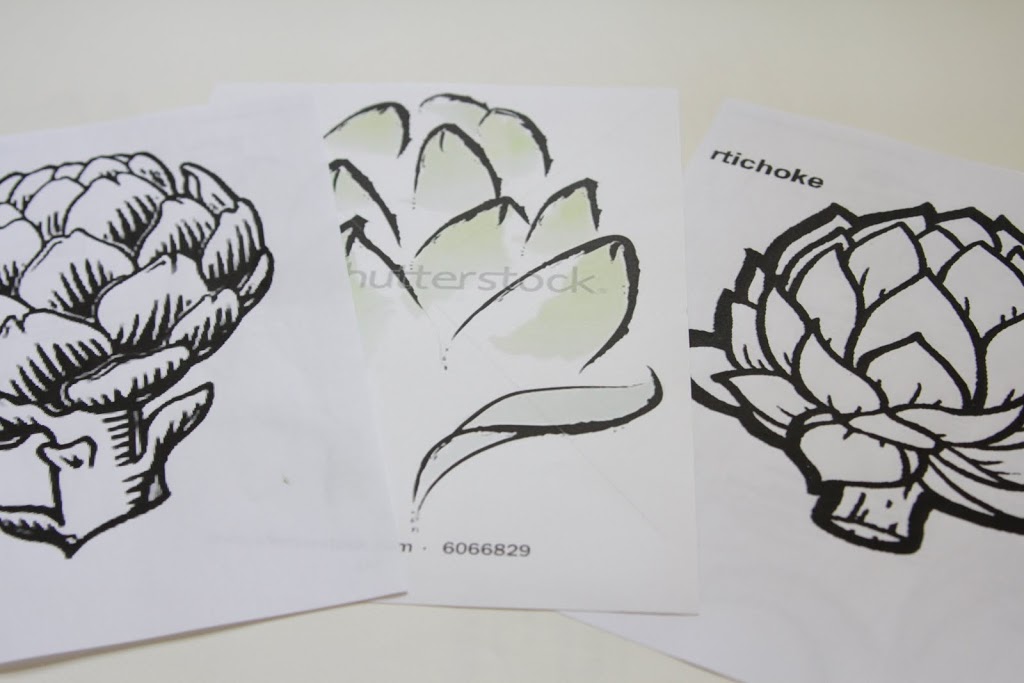
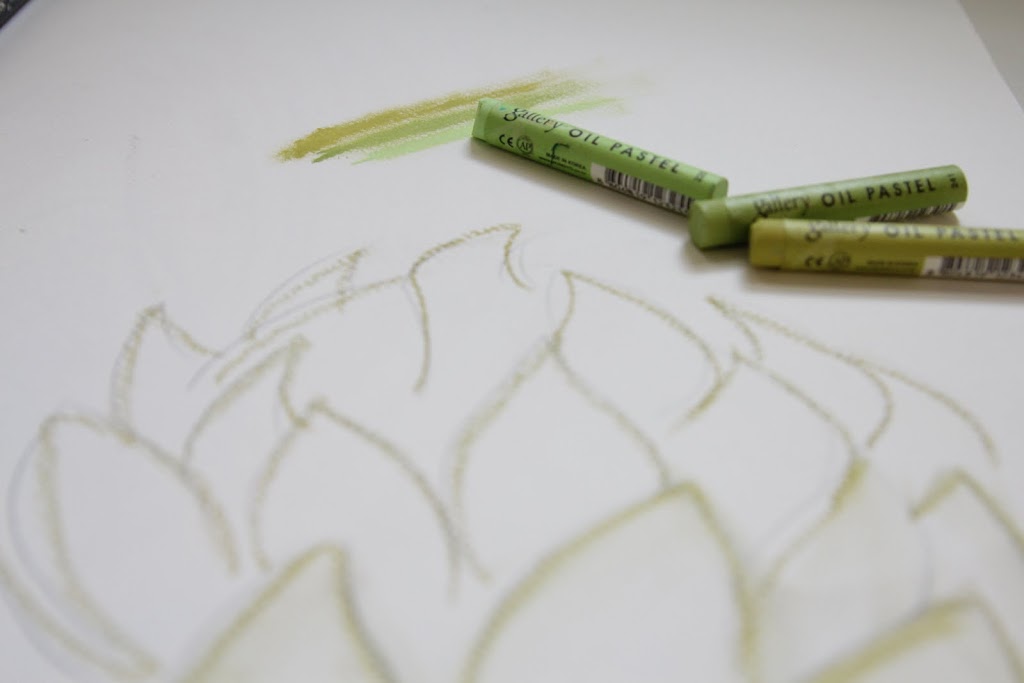
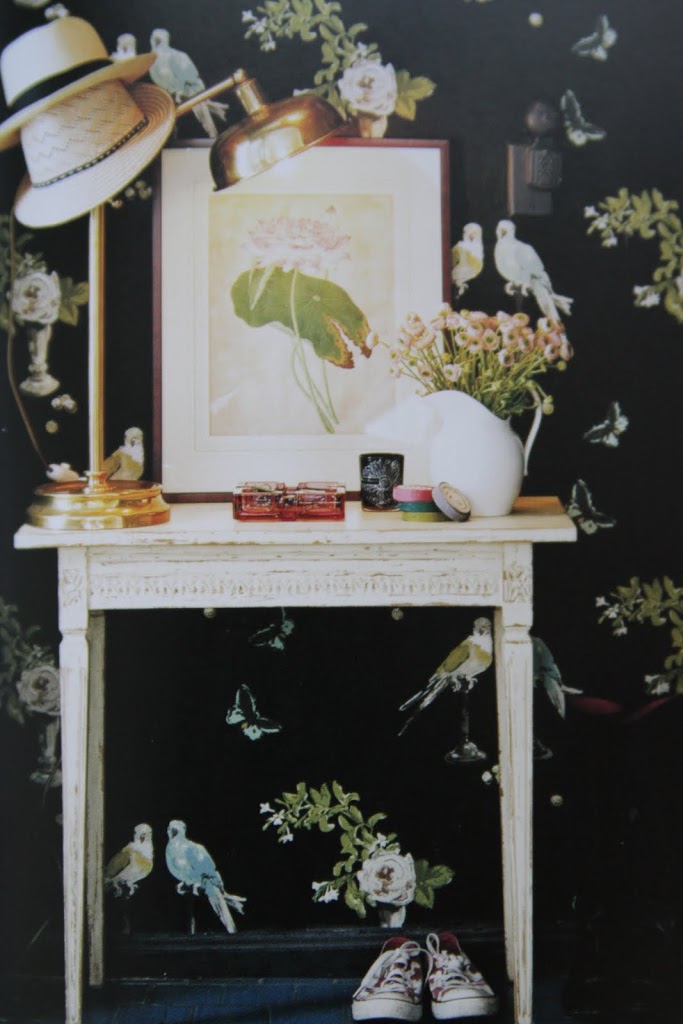
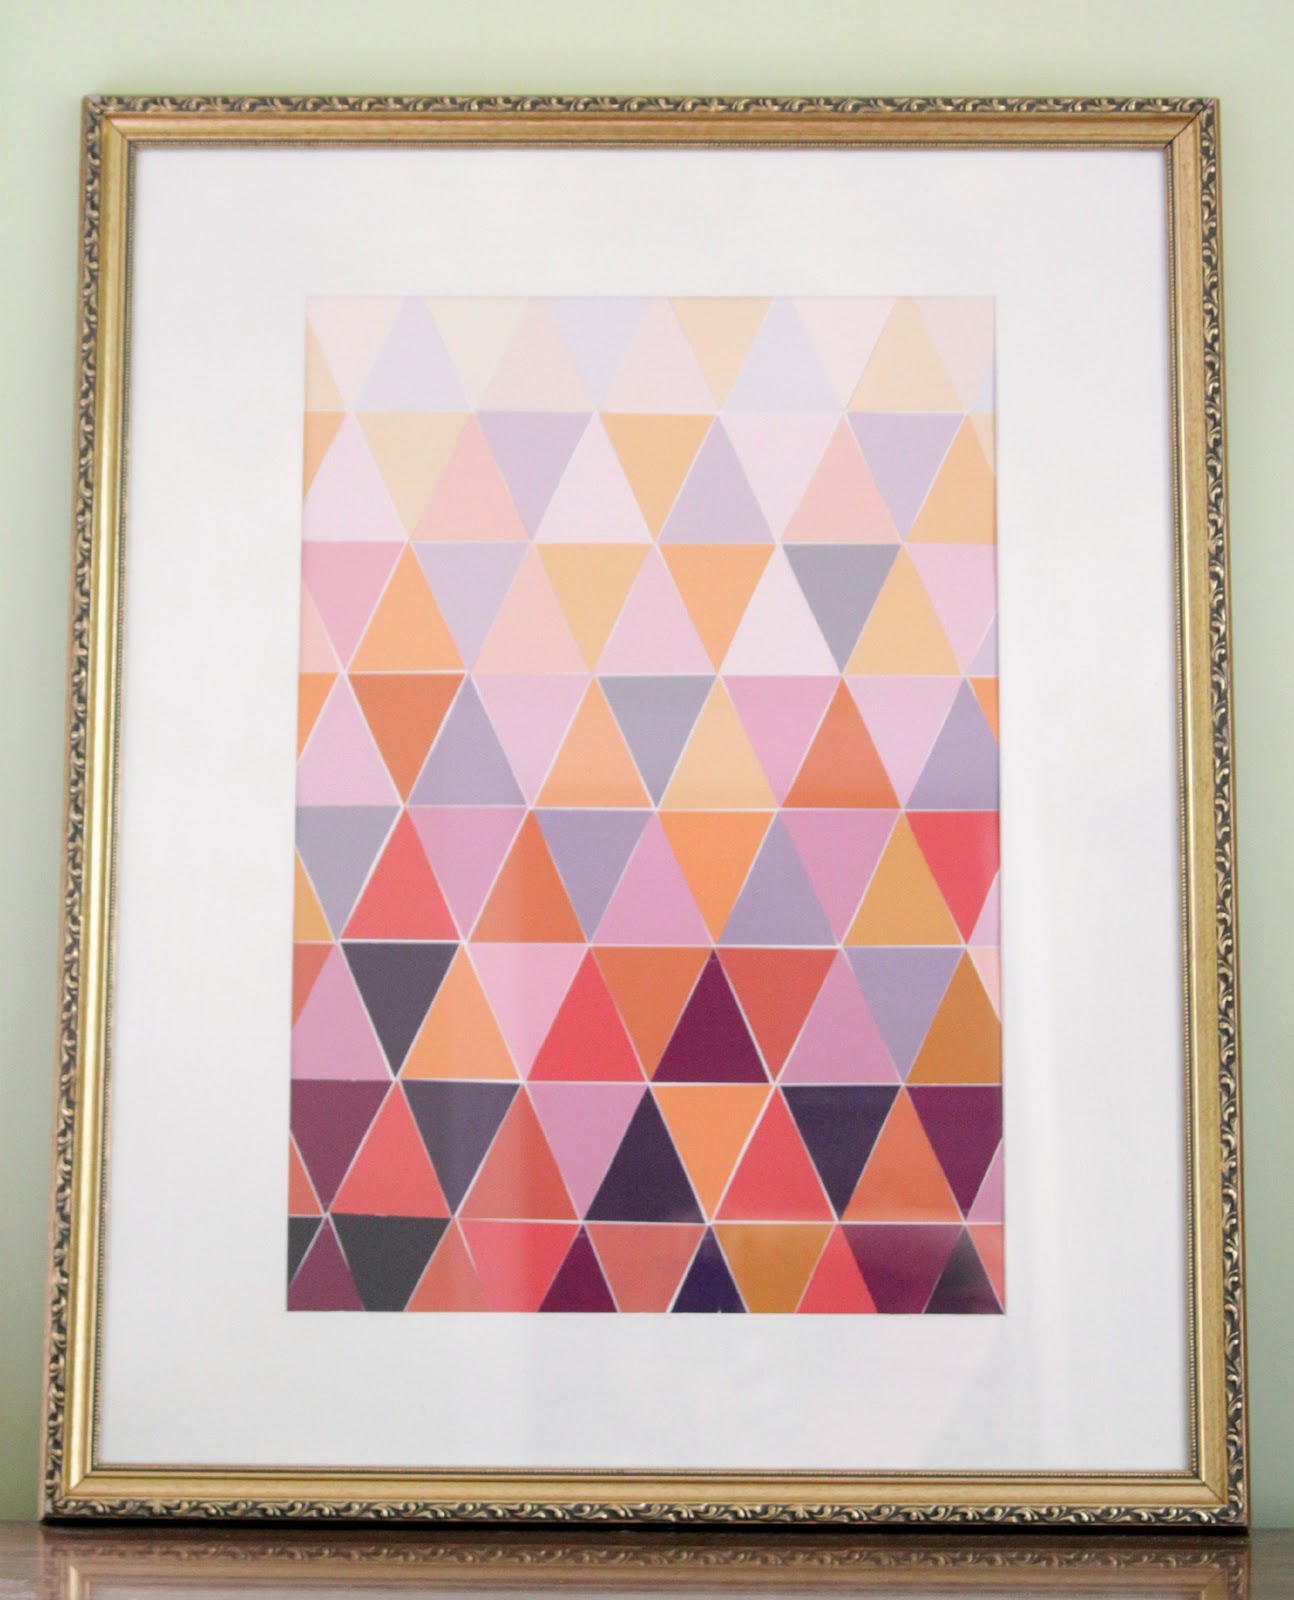
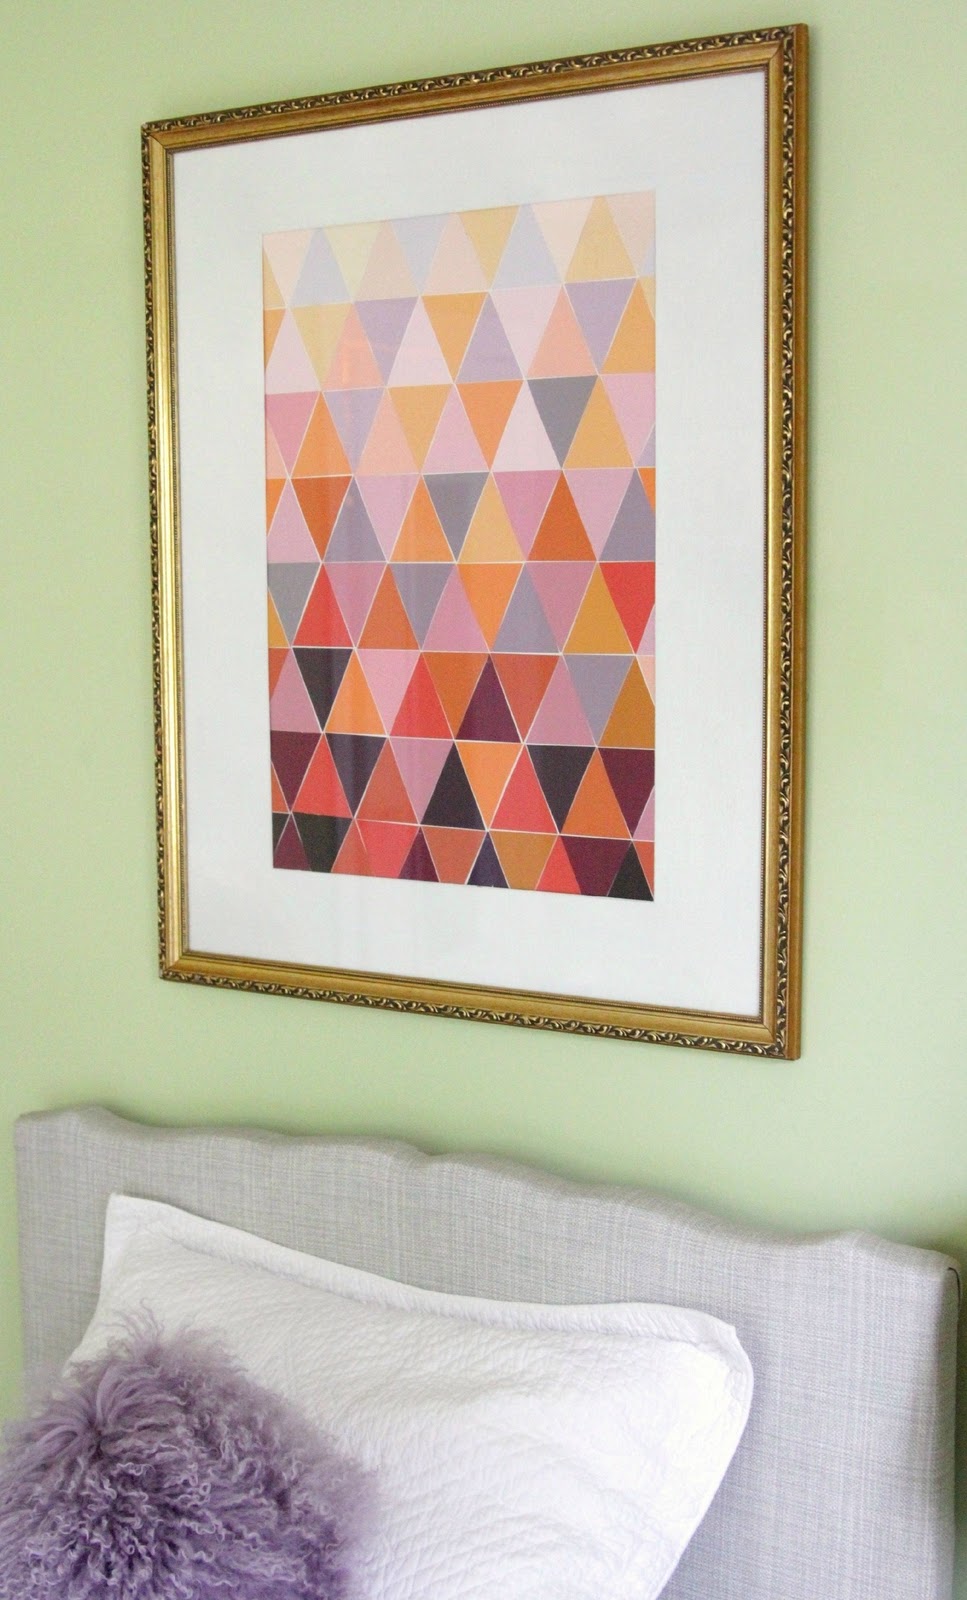
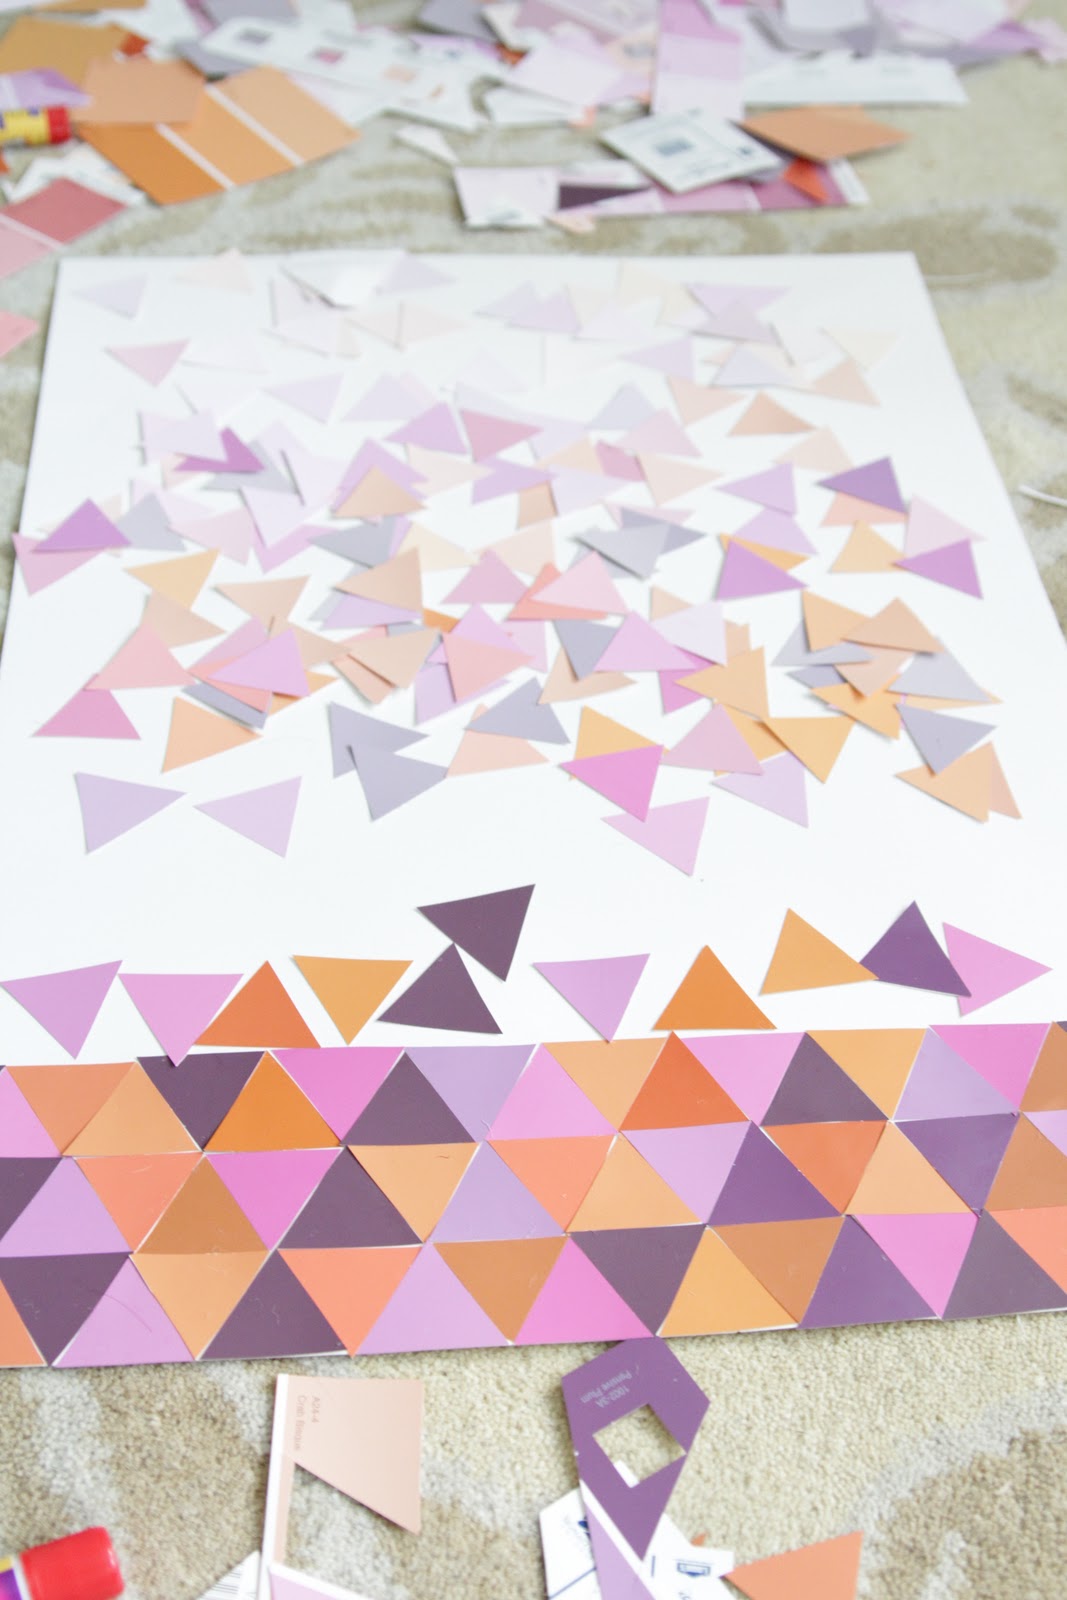
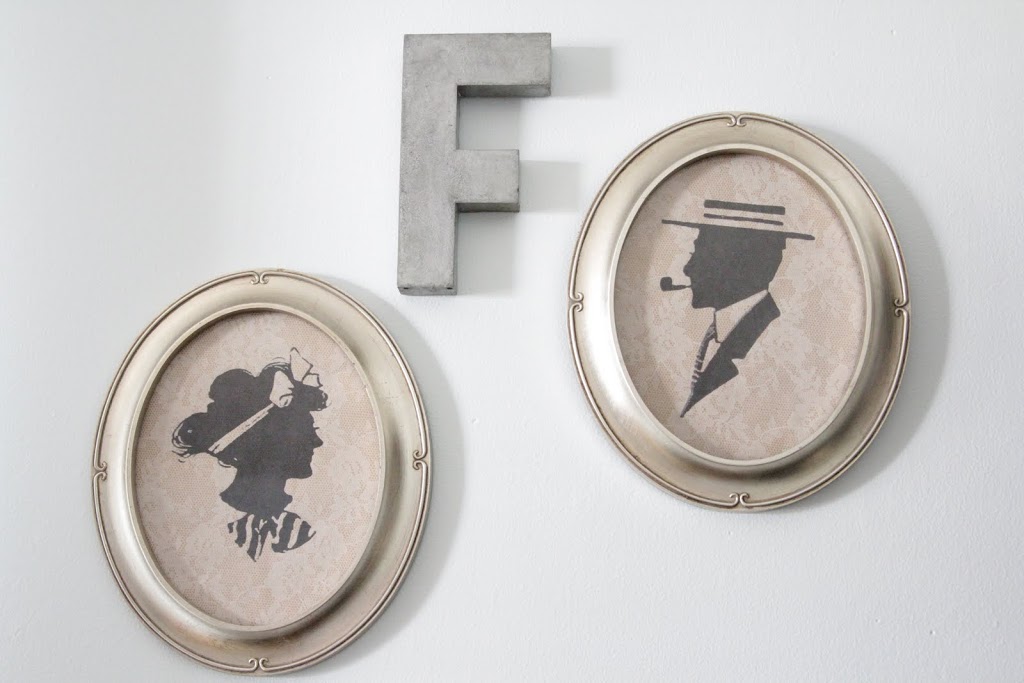 One of the first things I wanted to do when we bought our house was to cover our blank walls with unique art and decor. I didn’t realize that most of the art I loved was way out of my budget. I didn’t want the same prints from Target or Bed Bath and Beyond that I’d seen a hundred times, as much as I love other things from both those stores. Thankfully, Etsy provides us with a plethora of options these days. But sometimes even a $30 print from Etsy feels like too much. I’ve found a few thrifty ways to imitate the look I want for less. Another way to save is by using coupons,